Introduction
There's a new functionality that allows you to export and delete old data of an ontology from the realtime databases. In this tutorial we are going to explain how to configure an ontology to achieve it, as well as how to consult files created by this process.
Ontology configuration
Create/Update an ontology, and go to the 'Advanced Settings' tab.
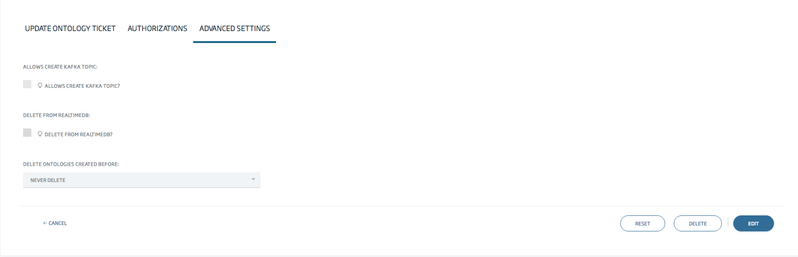
As you can see, there's an option called 'Delete from realtimedb'. If you check it, you will have to choose a time threshold (1 month by default) from which the data will be deleted.
A new checkbox will also pop up when checking the previous delete option:
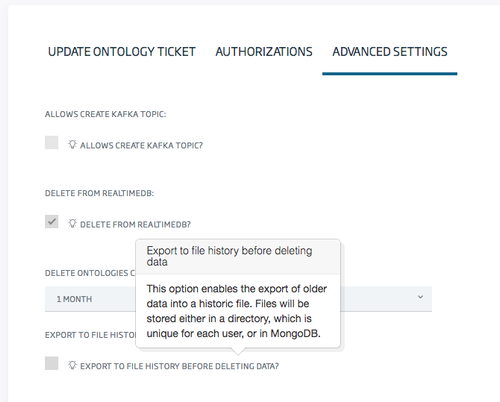
Checking this option will export the data prior to delete.
Lastly, if checked, you will have to choose between two storage modes: GridFS (Mongo) and Directory file.
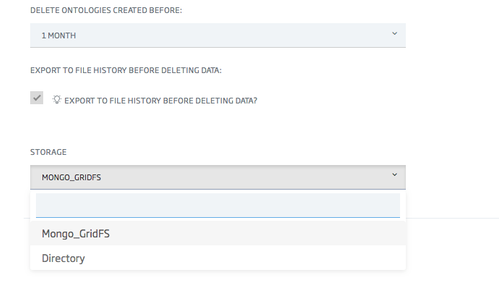
We strongly recommend the use of GridFS, as it uses a distributed storage system, while directory files don't.
Retrieving exported files
Whether you selected GridFS or Directory as storage, you will be able to access (CRUD) those exported files, either through the binary repository page in controlpanel or the REST service exposed for the binary repository.
1. Controlpanel binary files management
If you go to path /controlpanel/files/list, you will se a list of files belonging to your user.
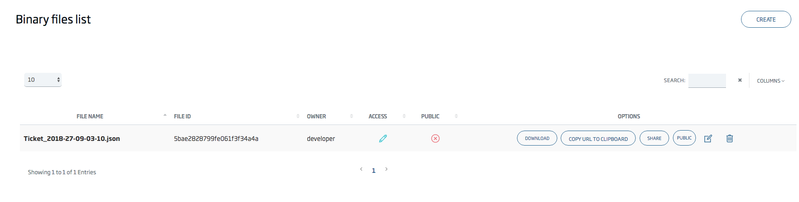
Those files with name pattern as follows: (ontology)_(timestamp).json, will be exported files created by the deletion process.
As explained in this tutorial, binary files can be shared with users of the platform, and also can be made public. If the file is public, you can access it (read only) without any kind of authentication, from anywhere, for example from a notebook (example at the end of this tutorial).
The 'copy url to clipboard' copies the external url for accessing the file.
2. REST API
Explained in this post.
Notebook example
In this example we will illustrate how we can retrieve an exported file within a notebook and load its data.
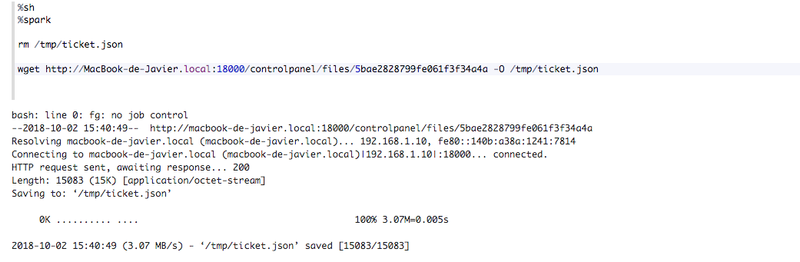
1. The file is public
In case that the file is public, we won't need any kind of authentication, we just need to make a simple wget request:
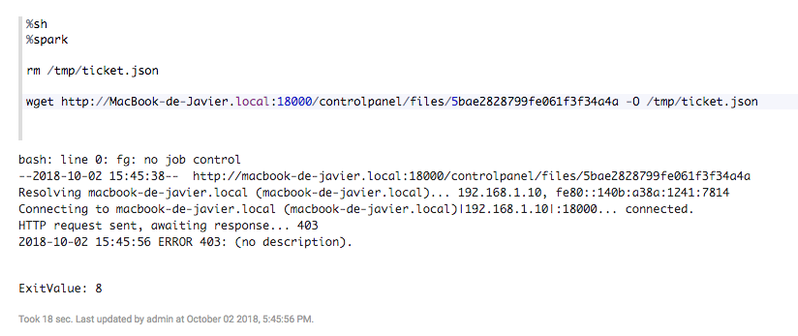
If the public is not public, we will get a 403 response:
2. The file is not public
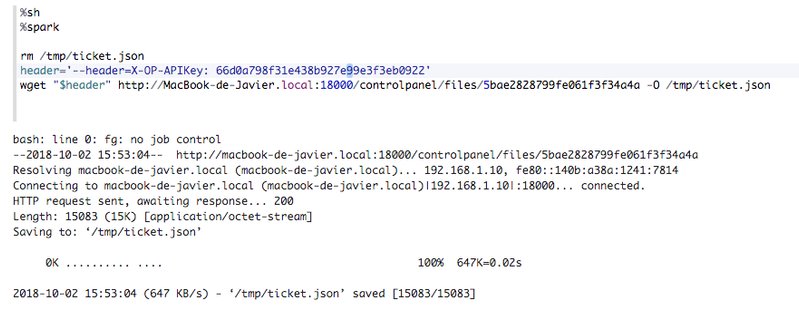
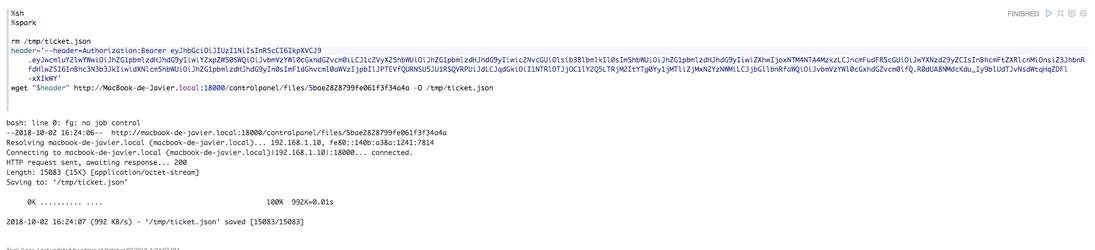
Whether the file is shared or not, being the file private, we will need to provide an authentication header:
- Authentication: Bearer {token}
If we were previously authenticated via Oauth2 in the platform, then we can use this header
X-OP-APIKey: {user token}
Otherwise, we need to provide a user token header. This token is the same used for authentication through the Api Manager of the platform. You can retrieve it in path /controlpanel/apimanager/token/list.
Here is the example:
-X-OP-APIKey
-OAuth2
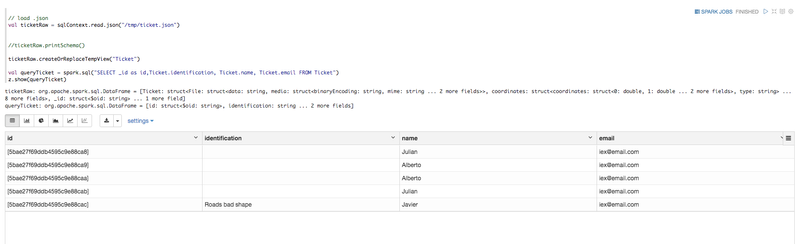
3. Load the file data
In this case, the file contains instances of the Ontology 'Ticket'.
With Spark we can read, load and print JSON data.